
Trailer guide-on fit checklist
Pontoon trailer guide-ons: fit checklist for posts and inner guides
Updated
Ordering pontoon trailer guide-ons by height alone can mean buying a kit that misses the job or will not fit. Use this fit checklist to choose visible reference posts, inner contact guides or both, then confirm the mounting hardware and tube clearance with the trailer supplier. For a SEAVIA boat-package inquiry, send the photo record below through WhatsApp.
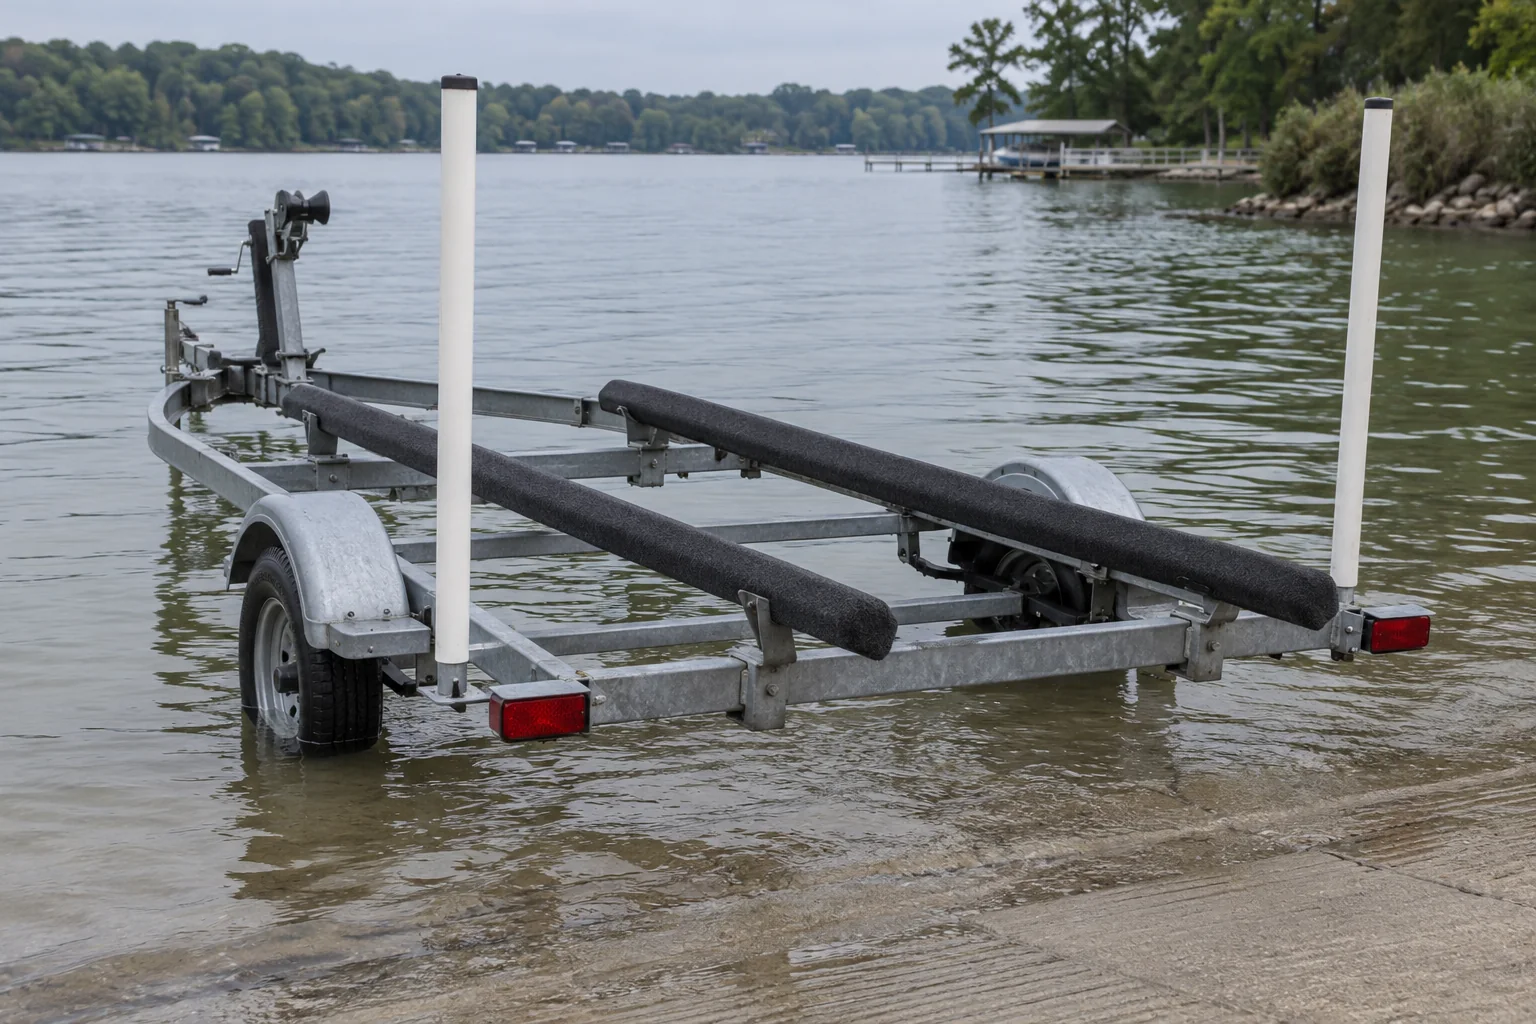
Compare the job, then the hardware
Start with the problem you need to solve: locating a submerged trailer, guiding the tubes toward their bunks, or both. A tall post can provide a visible reference, while an inner load guide is positioned between the pontoons for a specified contact path. The functions can overlap: an inner PVC post may also have a visible cap. Neither its name nor its appearance confirms compatibility with your boat.
| What you are comparing | Visible reference posts | Inner load guides / guide rails |
|---|---|---|
| Primary question | Can the driver see the trailer position at the intended immersion? | Where does the guide meet the tube as the boat enters? |
| Location to confirm | Approved frame mount and visible height above the water | Approved crossmember and position between the tubes |
| Evidence to request | View from the helm and tow vehicle at the usual ramp | Drawing showing tube clearance and the intended contact surface |
| Dominant failure mode & prevention | The reference disappears at the intended immersion. Confirm visibility from the helm and tow vehicle, plus installed transport width. | A guide catches a strake or splash guard. Require a marked contact path and clearance check against the selected kit instructions. |
Check the tubes and mounting surface together
Match an inner guide to the actual tube arrangement, including a center tube if fitted. Photograph lifting strakes and nose-cone splash guards along the entry path. The archived TA0230 instructions require adjustment for the particular splash guard; use the current instructions for the proposed kit to identify its permitted contact area and clearance.
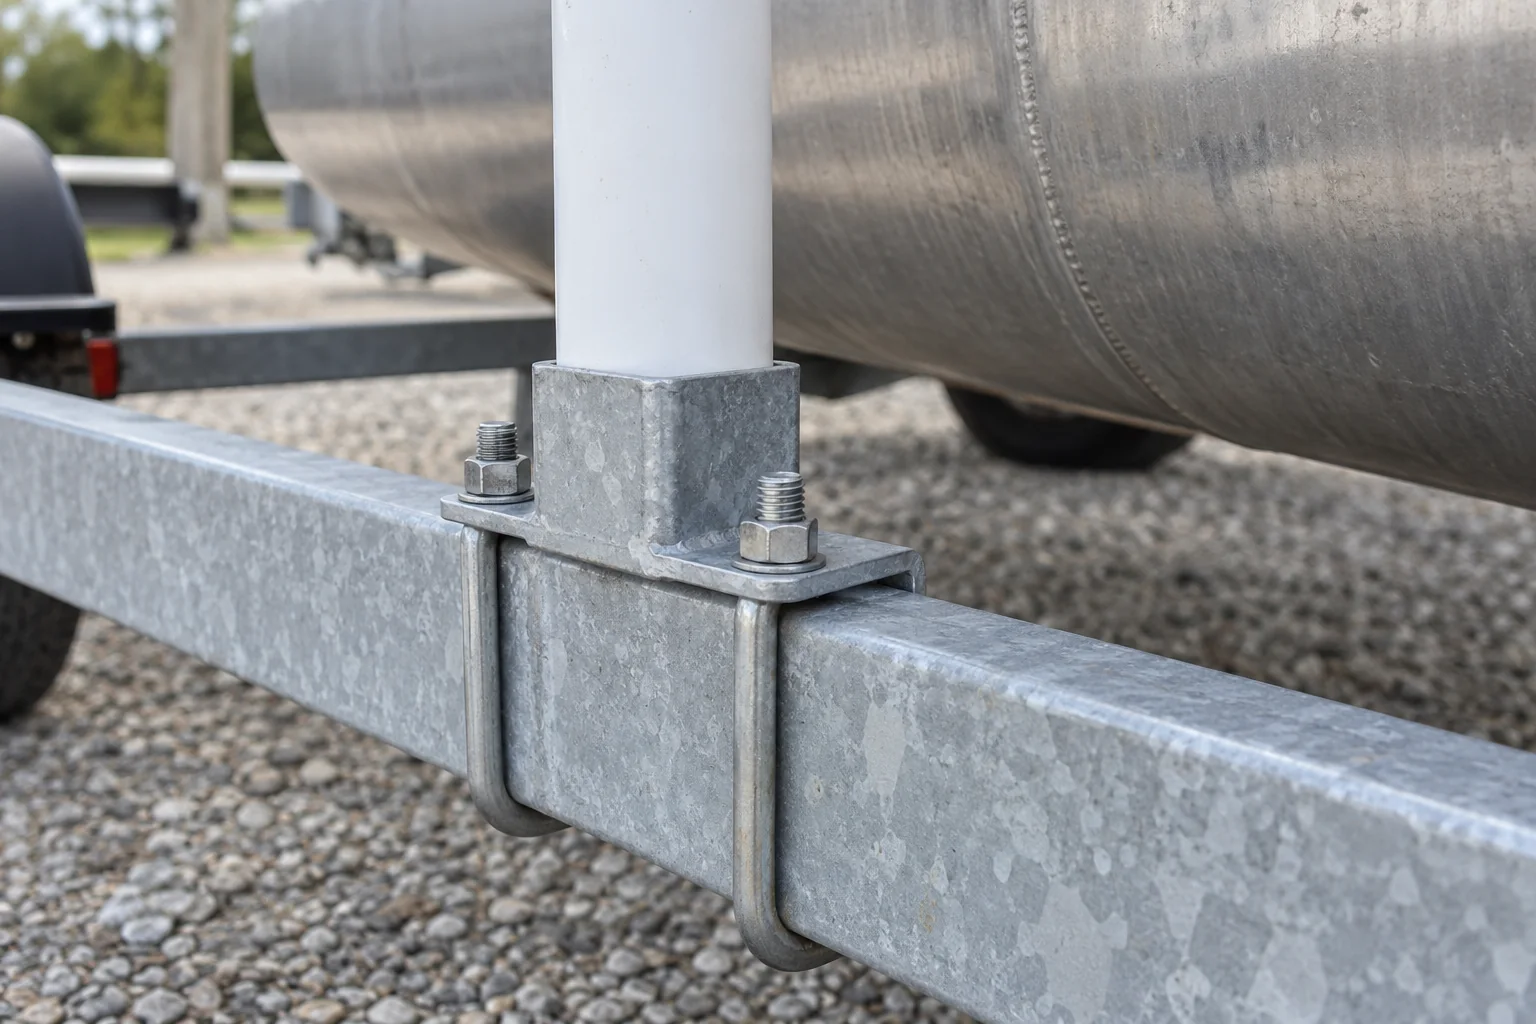
Ask the trailer supplier to mark the mounting member on a drawing and match its material, section and access to the kit. The 86465 instruction sheet requires the guide tube to seat properly in its bracket channel and specifies the U-bolt arrangement. A similar-looking clamp does not establish that another frame is suitable.
- Photograph the proposed mount from above and below, with surrounding bunks, wiring and fittings visible.
- Ask which bracket, fasteners, orientation and installation instructions match that member.
- Have the supplier mark the intended tube contact area and anything the guide must clear throughout entry.
- Keep mounting approval unresolved if the exact trailer or tube drawing is unavailable.
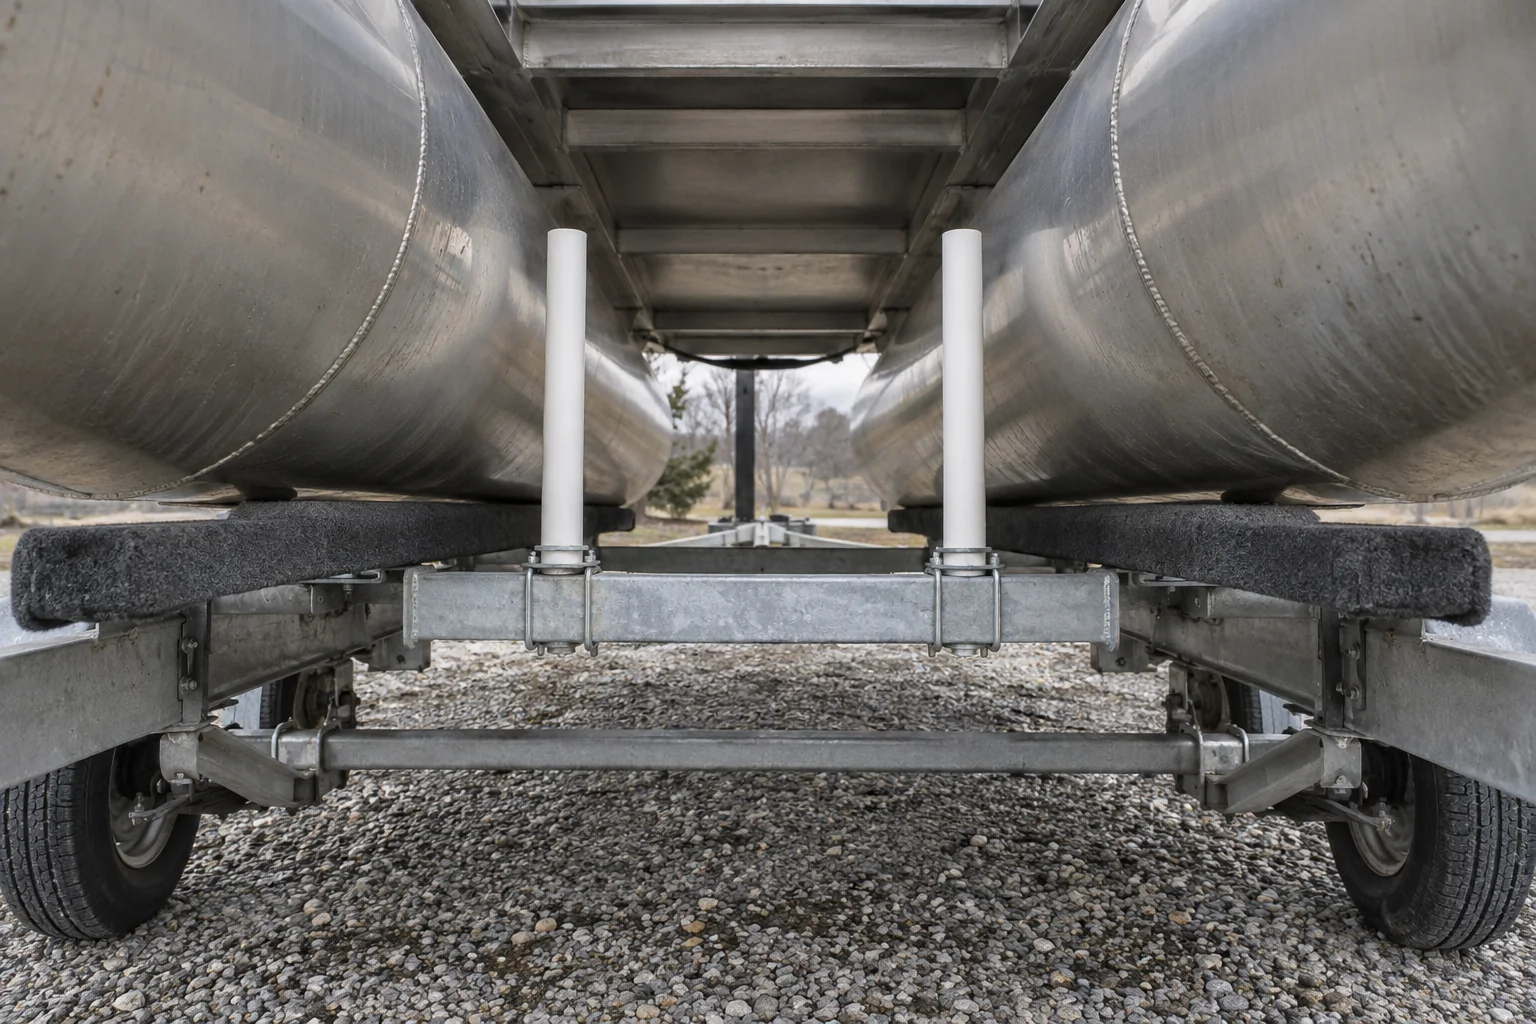
A pair, a set of four, or a longer rail?
Choose guide count after the supplier marks usable mounts and shows when each guide engages. A set of four needs suitable locations for both pairs. Longer pontoon trailer guide rails need their own mount and contact-path drawing; rail length alone cannot establish compatibility.
Ramp depth matters because a rear guide can be submerged before it can engage the tube. The current load-guide guidance linked below shows alternative crossmembers on its own trailers. Send a side view of your usual ramp and normal immersion state so the supplier can specify the arrangement for your trailer.
- If the reference post is hidden at the normal waterline, resolve the sight line before adding contact guides.
- If a guide can meet a strake or splash guard, pause selection until the supplier marks a clear, approved contact path.
- If there is no second approved mounting location, keep the second pair out of the order until the trailer supplier resolves it.
Copy this fit and photo worksheet
Copy the table into your notes and keep one record per boat, trailer and proposed guide kit. Enter measurements from the actual unit or a supplier-identified drawing, with units, date and the person who supplied them. Replace each “To record” cell with a value or “Awaiting supplier confirmation”; these are records to collect, not recommended installation dimensions.
| Record to collect | Measured value / drawing reference | Photo and confirmation needed |
|---|---|---|
| Boat, tube layout and trailer identification | To record | Whole package from rear; model/version, date and measuring party |
| Frame material and cross-section | To record | Section shape plus measured width and height at the proposed mount |
| Available crossmembers and bracket access | To record | Top and underside views; supplier marks each approved mount |
| Tube positions and inner clearances | To record | View along each tube with actual reference points identified |
| Strakes, splash guards and nearby fittings | To record | Close-ups of projections and the proposed guide path |
| Guide kit, bracket and fastener identification | To record | Parts list and matching installation instruction revision |
| Usual ramp and immersion state | To record | Ramp side view and waterline; helm/tow-vehicle sight lines |
| Final guide position and transport envelope | To record | Supplier-confirmed drawing with installed width and height |
Compare the installed scope before ordering
Ask for an itemized installed scope alongside the returned fit worksheet. Confirm whether the price covers the guides, matching brackets and fasteners, installation, adjustment with the actual boat and any agreed ramp check. Our pontoon buying guide helps separate trailer preferences from the approved package. Update the boat garage fit checklist if posts change the stored width or height.
Include replacement sleeves or contact surfaces, inspection instructions and the installer’s support responsibility in the comparison. Those items can change the cost of ownership even when two kits have similar purchase prices. Keep tube support, trailer load rating, transport restraints and ramp operation as separate approvals in the package documentation.
- Which exact instruction sheet sets the spacing, height, fasteners and tightening requirements for this assembly?
- How will the installer confirm the boat is centered and the guide clears strakes and splash guards?
- What check or demonstration will confirm the arrangement at the intended ramp, and who will carry it out?
- Who pays for missing hardware, return shipping or remounting if the proposed kit does not match the supplied trailer details?
What to send us
Chat on WhatsApp about your SEAVIA boat package with the record below. State whether you need a visible trailer reference, tube alignment or both, and identify any trailer you already own. Ask which trailer and guide-on items can be included for your destination; availability and fit need written confirmation. The link opens a draft that you send yourself. The delivery guidance explains the separate transport and handover scope.
| Item | Why we need it | Example format |
|---|---|---|
| Boat and destination | Identify the proposed package and region | Preferred model or tube drawing; country and region |
| Existing trailer or trailer request | Separate owned equipment from items to quote | Trailer maker/model and plate photo, or trailer required |
| Fit worksheet and photos | Identify mounts, projections and ramp conditions | Rear overview, mount top/underside, tube close-ups and ramp side view |
| Requested scope | Record what still needs confirmation | Visibility or alignment need; supply, installation and handover questions |
Method and sources
Updated October 18, 2026. This checklist compares guide functions and collects the records needed for a supplier fit decision. Current public installation documents and trailer-maker guidance were checked on that date; the 2013 instruction sheet is an archived example of splash-guard adjustment. Kit dimensions and fitting instructions apply to their identified assemblies. Use the current instructions supplied with your selected kit for spacing, tightening and placement. Illustrations show generic arrangements rather than a quoted SEAVIA installation.